Pages

Monday, February 13, 2012

It's Been a Lawn, Lawn Time

Last spring we decided our back lawn needed some attention. Our lawn was super-sad. We had a wet, muddy mess in the winter and an unhealthy lawn with sporadic growth in the summer. Initially we were planning to remove all the grass and replace it with new sod. Then I heard about a way to spruce up your lawn and make the soil healthier at the same time.

In photographs only, I had seen (what I'm calling) the gravel technique used at the Joy Creek Nursery. Since I wasn't able to go to the nursery for the handouts, I googled the idea and came across a how-to on the Seattle Post-Intelligencer, which also credits the Joy Creek Nursery. The basic idea is that you lay gravel, then compost, then fertilizer, and finally grass seed over your existing lawn. It's an easy and relatively inexpensive way to revitalize a sad lawn.

We decided to use the gravel method. We have a small lawn, so it only took about 4 hours (not including prep time). Although it probably cost less than replacing the lawn with sod, it still cost nearly $300 by the time we were done. And it was a workout, as well. Here are some photos of our progress.

We raked a bunch of moss off the lawn before we began spreading the gravel. 

Gravel pile.

The lawn is completely covered.

At this point the compost, fertilizer and seed had also been spread. 
We used the chicken wire to keep the dog off the lawn. It sort of worked. 
Also, we didn't use quite as much compost as recommended.

This shot was taken three weeks later. The grass clumps are from the lawn, not the seed.

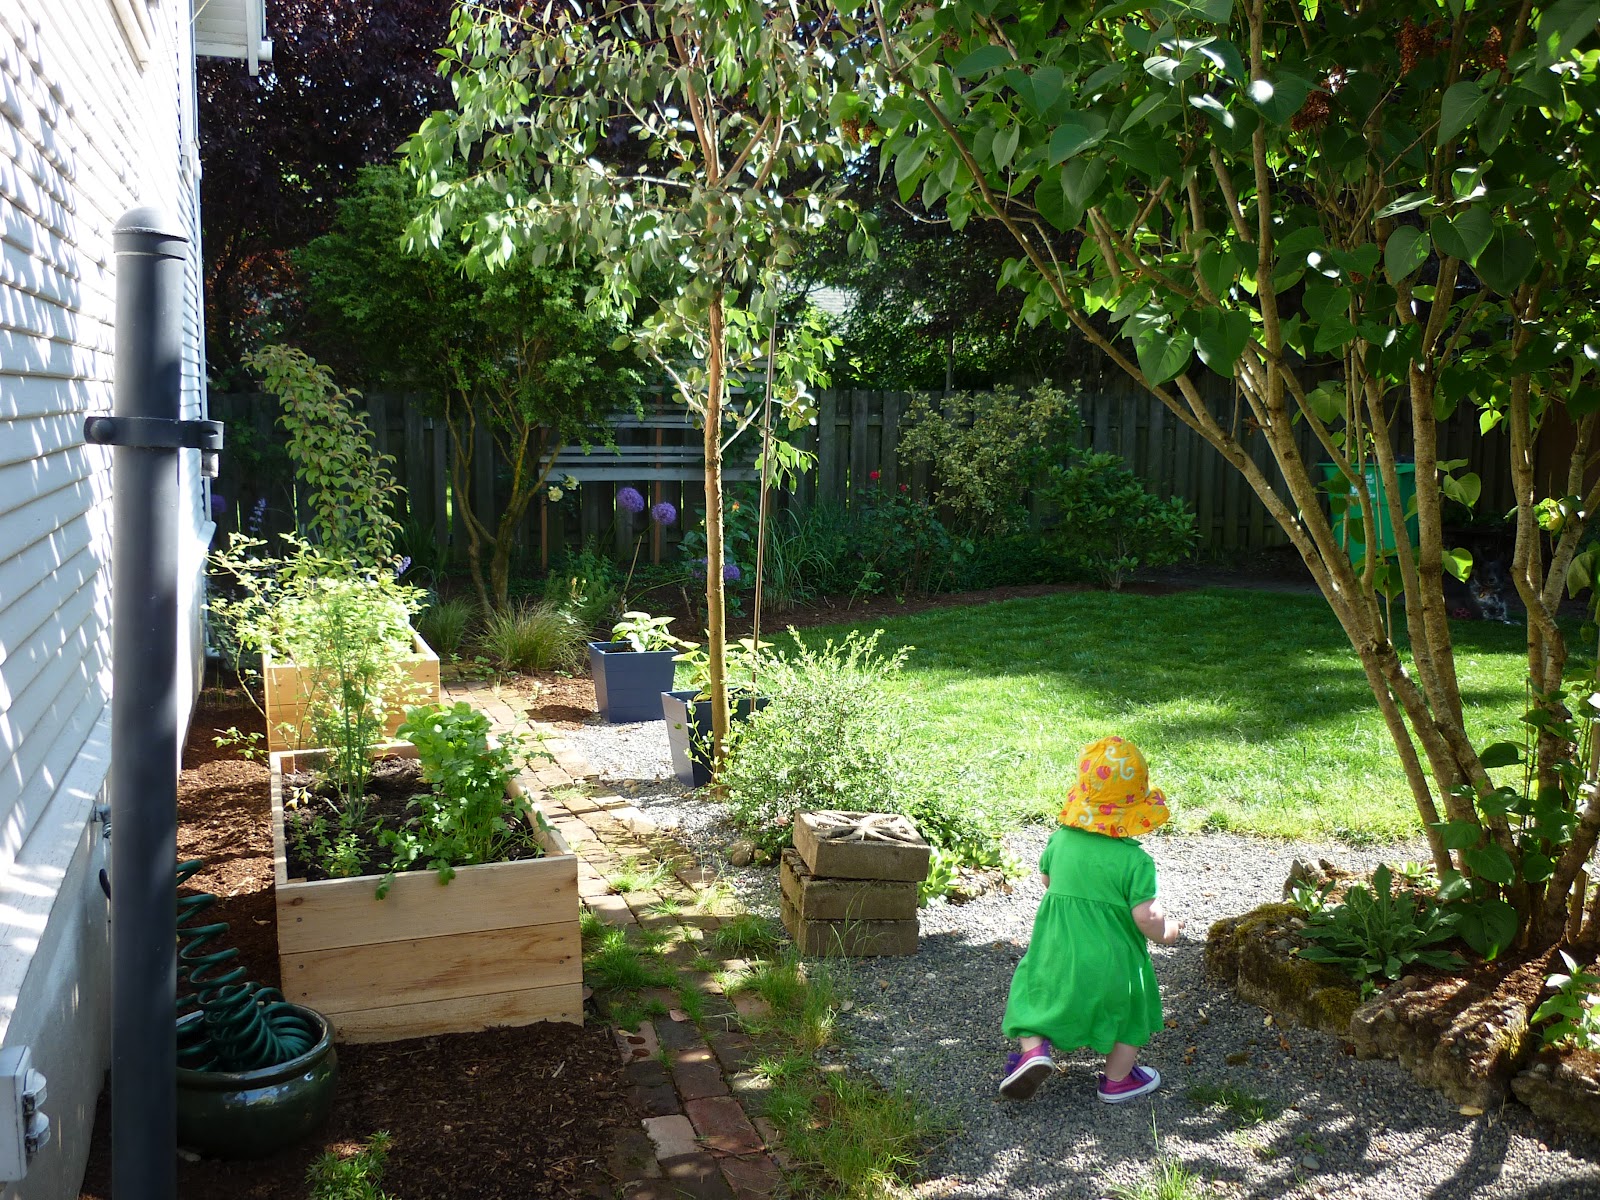
This picture was taken six weeks later. The lawn was growing really well by then.

I am not a lawn person. If I didn't have a dog and a kid, I would be happy just removing the lawn and replacing it with native plantings. However, I am very happy with these results. There are some areas where I will have to spread some more compost, fertilizer and seed this spring; but overall the lawn is much healthier. It was definitely worth the time, effort and money.


Monday, February 6, 2012

Back Yard Before & After

Over the years we have done a lot of work to the back yard. I looked through lots and lots of photos to find the most basic before and after shots. I love pretty pictures of my garden, and I restrained myself from showing too many.


Before - along the back of the house.

After - along the back of the house.

 Before - looking toward the garage.

After - looking toward the garage.

I love my yard, but the only time I'm out there to enjoy it is when I'm working on it! So for 2012, I'm going to take a break on the back yard. I'm going to focus on nurturing the plants I have and growing beautiful, tasty veggies (in the raised planters). If I'm feeling inspired to do yard-work, it will be in the front yard this year. 

Don't worry, there will be more yard pictures that I won't be able to keep to myself! In fact, I will share how we "fixed" our lawn last spring. Maybe that will be Friday's post....

UPDATE: Here is the post about the lawn.

Saturday, February 4, 2012

Roof Before & After

Yeah, yeah. Not too exciting, except for us. Having a roof you can trust is comforting, and we haven't been disappointed this rainy season. We got four quotes from roofer/contractors ranging from $5500 to $8100. That seemed like a pretty big difference. So we hired the company that our neighbors recommended and used a couple of years ago. And lucky us, it was the cheapest!


Garage Before

Garage Before

Garage After

House Before

House After

We removed the gutter and downspout from the garage, but the PVC gutters along the house are still there. They are working, so it's an expense we decided to hold off on. The quote for replacing all the gutters seemed reasonable at $1100. However, we wonder if it might be a DIY project. Anyone??

And finally, I would really like to replace the rusty outdoor light attached to the house. Or better yet, refinish it!